Door Removal, Panel Removal, Panel Installation, & Roof Vent Removal - Part 4
/As we mentioned in part 1, we had a lot of working going on the last couple days! Here’s what was on the docket:
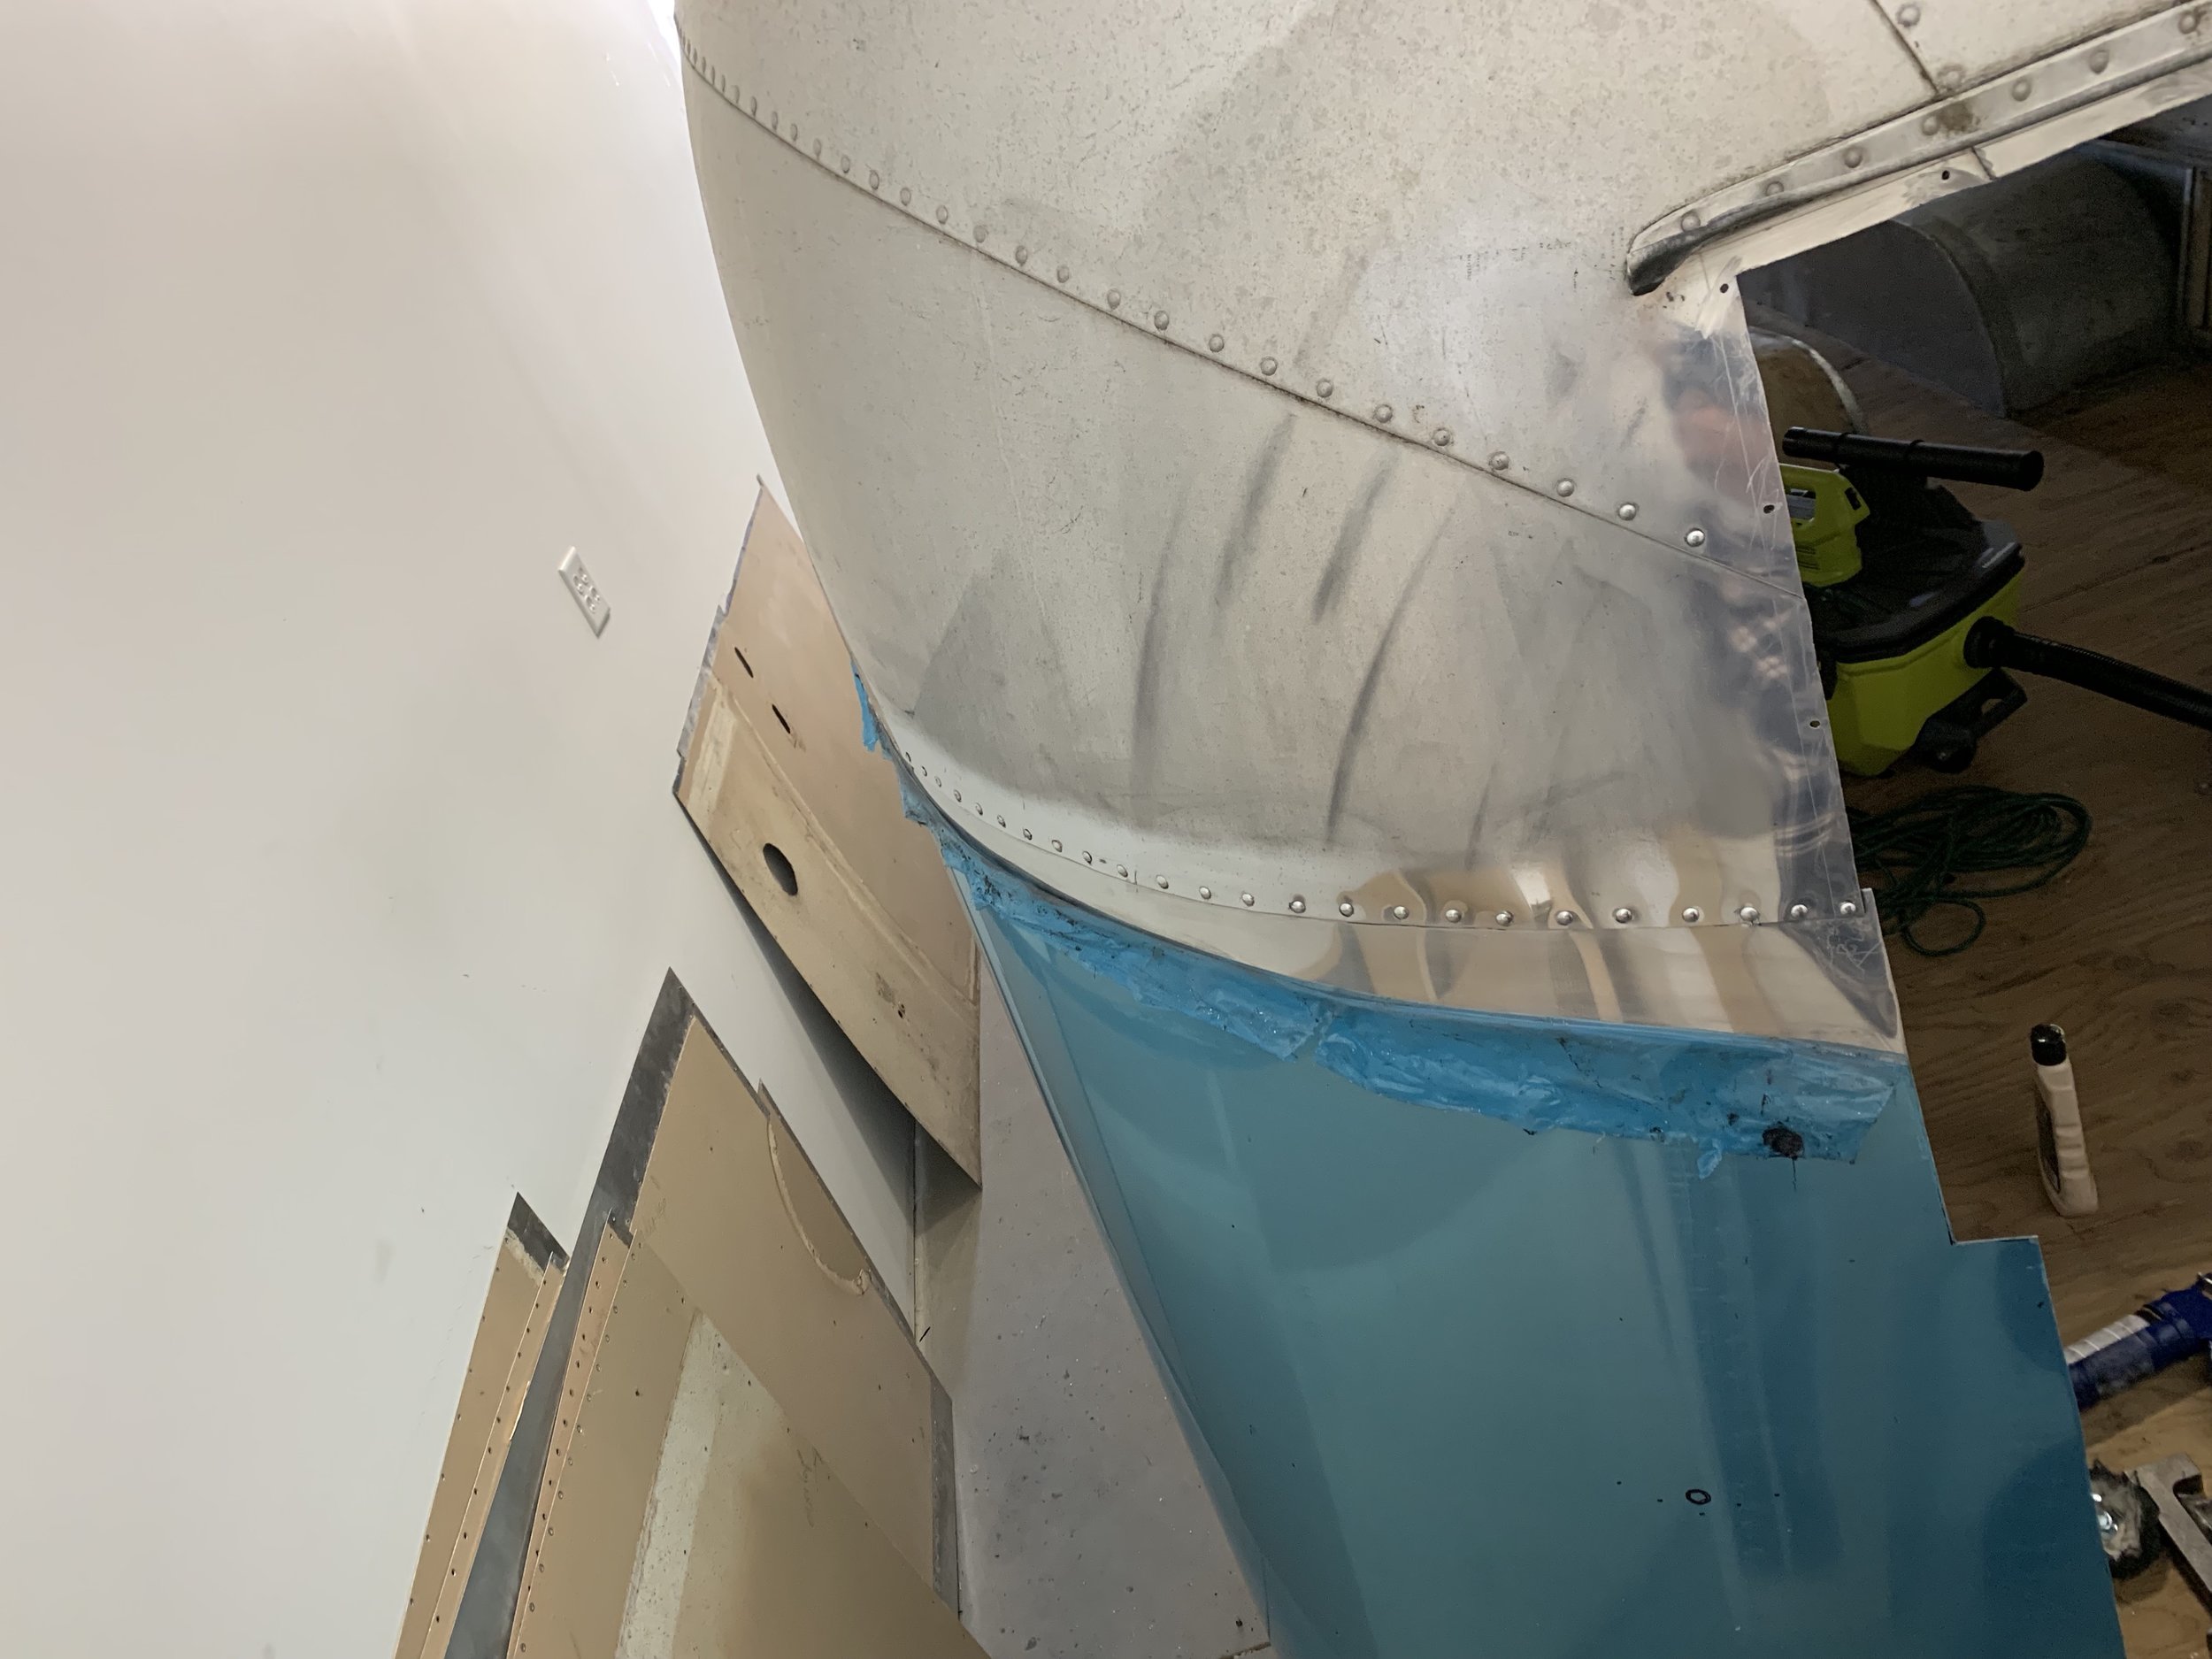
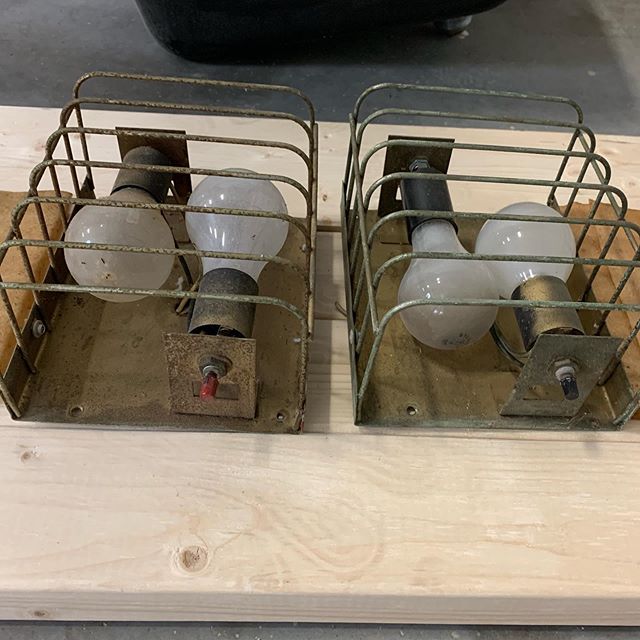
Beginning Roof Vent Removal (Part 4)
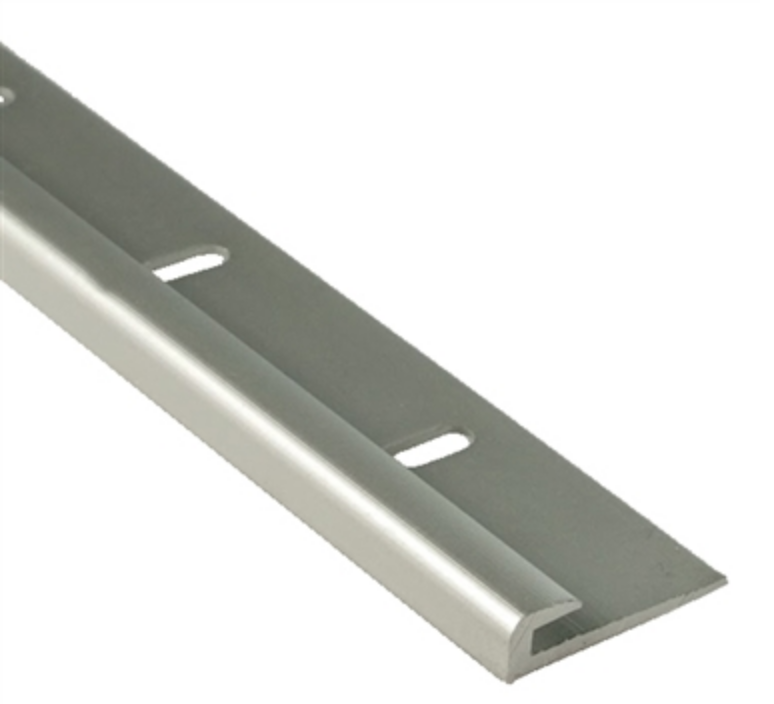
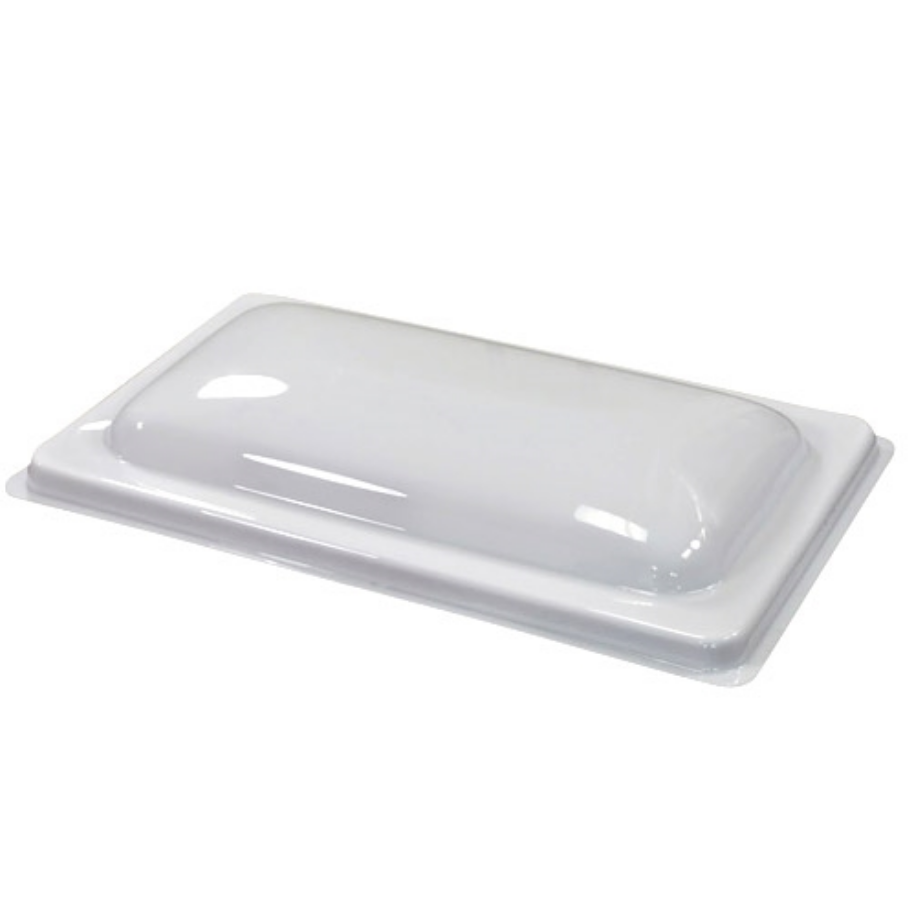
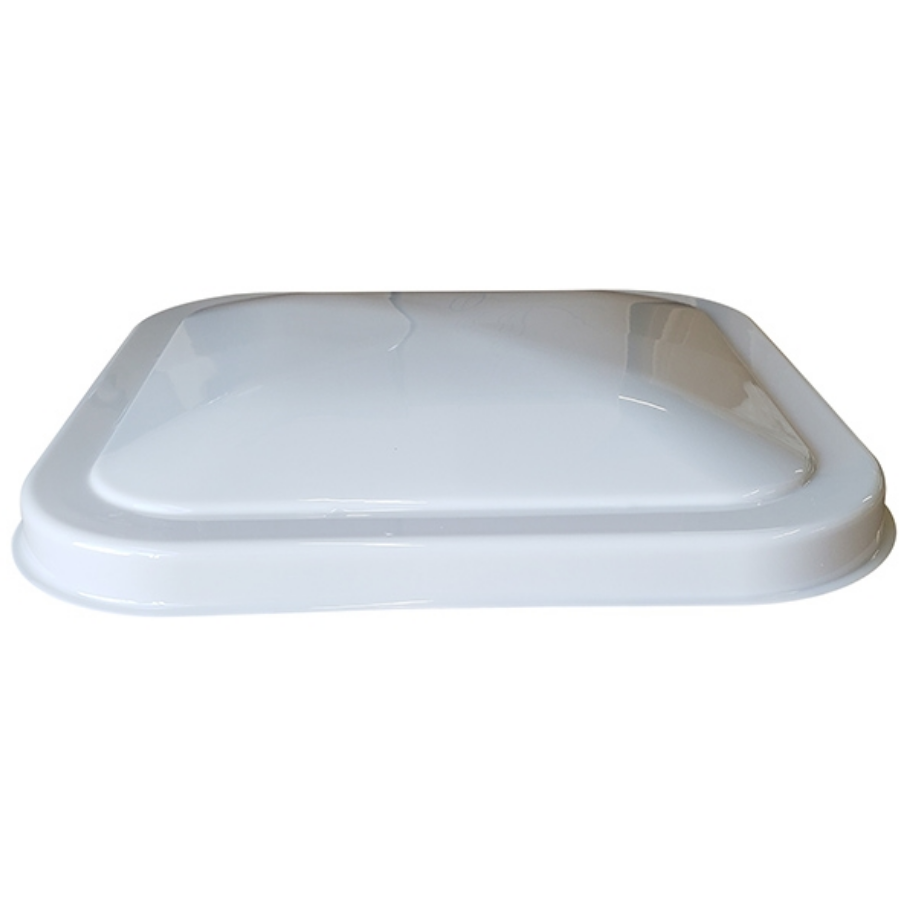
Ahhhhh, part 4. So looking at our 1959 Ambassador, there are 3 roof vents. The mid and rear are both two cylinder twist to turn fan roof vents. At the front on our land yacht is what Airstream called the Astradome. The Astradome is 14” wide and 25” long. All three originally had aluminum covers on them. Today there are reproduction plastic and aluminum Astradome and 14”x14” vent covers. These can be seen below. Click on them to go to Vintage Trailer Supply.
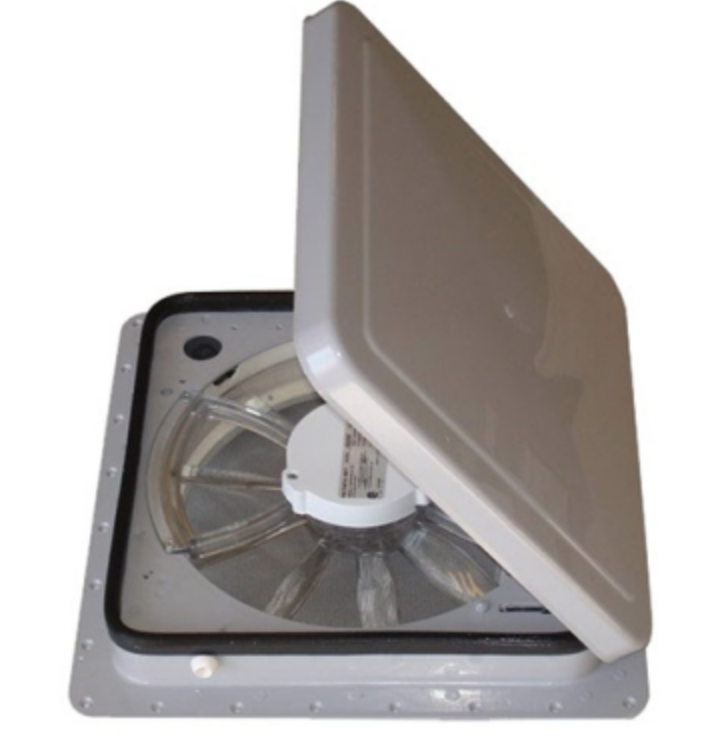
Moving forward our venting situation is going to be a little bit different. First, we’ve elected to replace the original Airstream vents with old 12V fans in the them with newer Fan-tastic vent fans. These fans have a lot of modern options; wall switches, smoked lids (to let in light), gray color trim to match the aluminum, rain sensors that close the lid when water is detected, and they move a ton of air. Now, we’re going to replace the rear and the front vents with Fan-tastic fans. You probably remember me telling you that the original Astradome in the front was 14”x25”. Well, if you did, you’d be correct! We’ll be building a patch to make the 14”x25” hole a 14”x14” hole. That video to come. We’ll also be removing the middle original fan and replacing it with a full-sized air conditioner from Dometic. We’ll update as we get to that part. More videos and explanation on how to remove the roof vents will come next week. Until then, CHEERS!